

Back in the day, one could walk into any well-stocked radio store and choose turntables, needles and records as desired. Today, the selection is much smaller, but the quality is much higher.
That is to say, there are turntables out there that we do advise against buying. For example, those found on the back of the magazines that include radios, cassette players, speakers and turntables. They’re not worth the money.
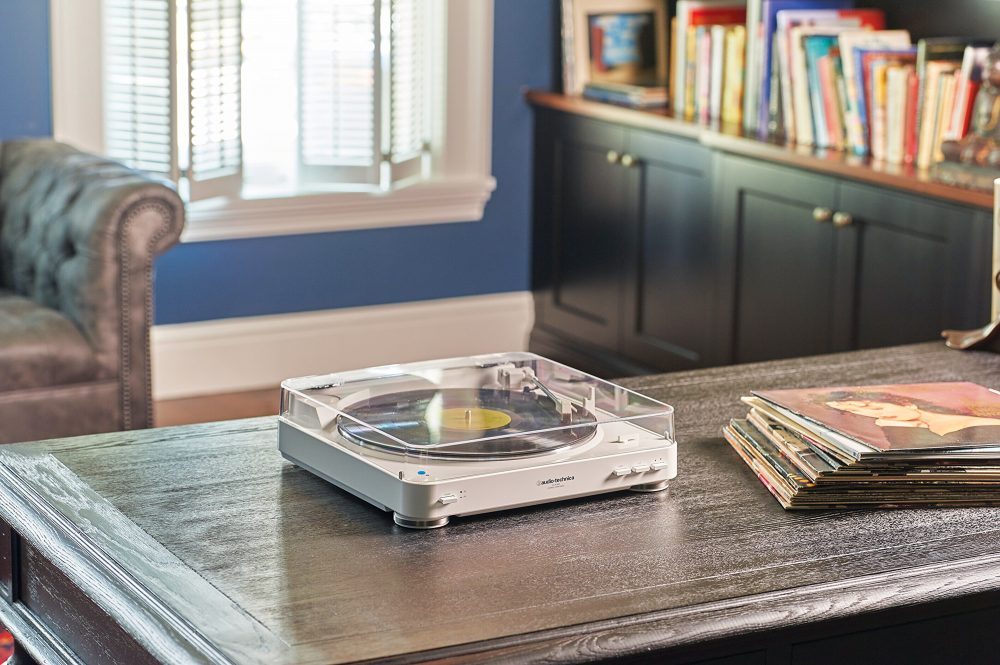
One should instead look at an exclusive turntable from a reputable producer. One that can easily be connected to the system you have at home, or maybe a couple of active speakers like Klipsch The Sixes. But which turntable to choose?
Budget range
In our experience, the threshold starts around 2,000 NOK. From there and up, good turntables are to found. This is a good place to start without going broke. If you pay more, you don’t get more features, but higher quality and better sound.
Get Started
In this test, we have sampled five turntables that are all in this budget range. They don’t cost the same, but this is because we’re going to try to figure out how much one actually should fork out to get a nice-sounding turntable.
They share the basics are in common, such as that they are belt-driven, have assembled pickup and are easily operated. But there is a difference in quality, which is reflected in the price.

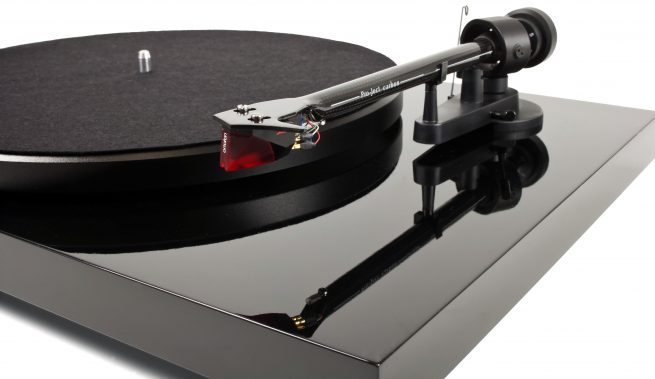
The quality of the construction is of great importance in relation to to how good a sound one gets. A turntable is a mechanical device with a sensitive pickup that can pick up vibrations, noise and interference, and muddle the sound. Thus, the mechanical quality is important. Everything from the cabinet, to motor, tonearm, platter, mat and pickup, all of these play a significant role in how good an audio you get.
Good cushioning, mechanical precision and electrical quality are essential.
How to get Started
The turntables in this test are incredibly easy to use. You can unpack and hook them up in minutes, and little effort is needed before you can put on the first record and enjoy the music.
When the player is unpacked, the rubber belt is slipped on as shown in the installation guide; the platter and the mat are placed on top and the counterweight is mounted as described.
The counterweight has a scale that is turned to zero when the arm is level with the platter (remember to gently remove the plastic protection from the pickup).
The stylus pressure is set by turning the scale – and the weight at the same time, usually 2 grams. Please refer to the user manual for the manufacturer recommended stylus pressure. Too much pressure ruins the stylus, the platter and the sound, and too little leads to poor tracking and low bass.
Once the stylus pressure is in place, the anti-skating needs be set. Either with a counterweight that is hung at the end of the arm, or on a knob with an anti-skating scale. If nothing else is indicated, you need to turn it to half the stylus pressure, or a value of 1.5 if the arm is still forced outward when lowering the stylus in the record grooves.
Levelling is important
Remember that the surface plays a role. The turntable must be on a flat surface, in level, and preferably not on top of an amplifier.
A record brush for a hundred kroner is a good investment. It keeps the dust away from the records. There are also record cleaning solutions that deep clean the vinyl, and keep the music experience alive.